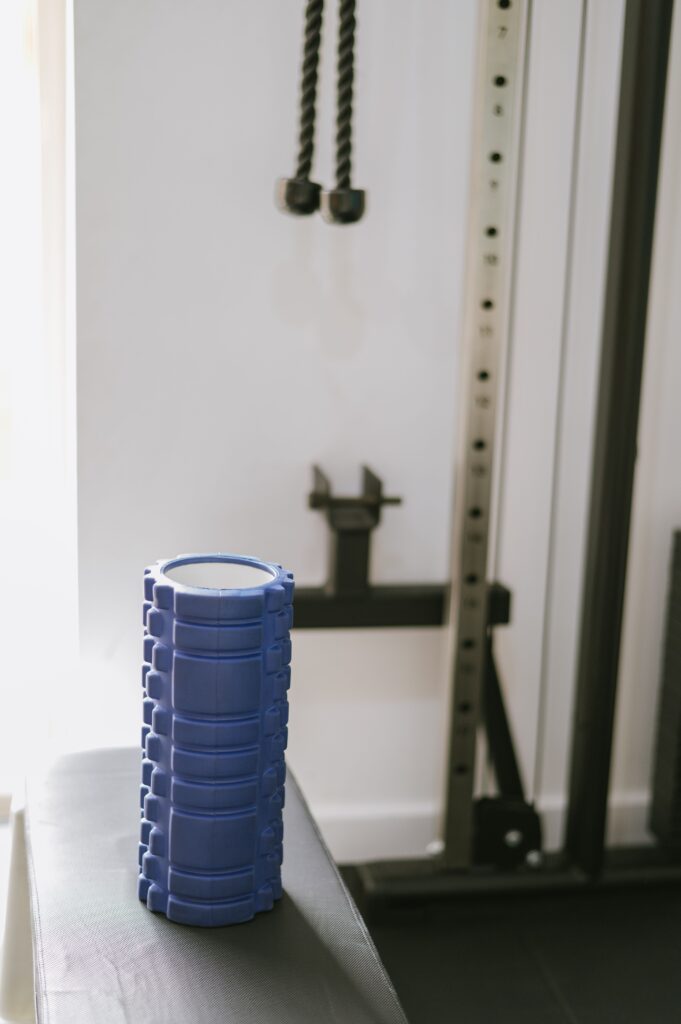
Foam rolling looks simple until you actually try it — and then it’s easy to either avoid the muscles that need it or roll directly over something you shouldn’t. Here’s a beginner-safe way to start. (If you’re trying to decide between a foam roller and a massage gun in the first place, we’ve covered that comparison separately.)
Good places to start
- Quads (front of thigh) — roll slowly from just above the knee to the hip, pausing on tender spots for 20-30 seconds.
- Calves — sit with the roller under one calf, cross the other leg on top for extra pressure if needed.
- Upper back — rolled between the shoulder blades, supporting your head with your hands, is one of the safer places to apply more pressure.
What to avoid as a beginner
- Don’t roll directly on your lower back — there’s far less muscle padding there and more risk of rolling over the spine itself.
- Go easy on the IT band (outer thigh) at first; it’s notoriously tender and beginners often use far more pressure than they need to.
- Never roll directly on a joint — knees, ankles, elbows.
Two or three minutes per muscle group, a few times a week, is a reasonable starting cadence — more isn’t automatically better, especially while you’re still learning what your own tolerance is.
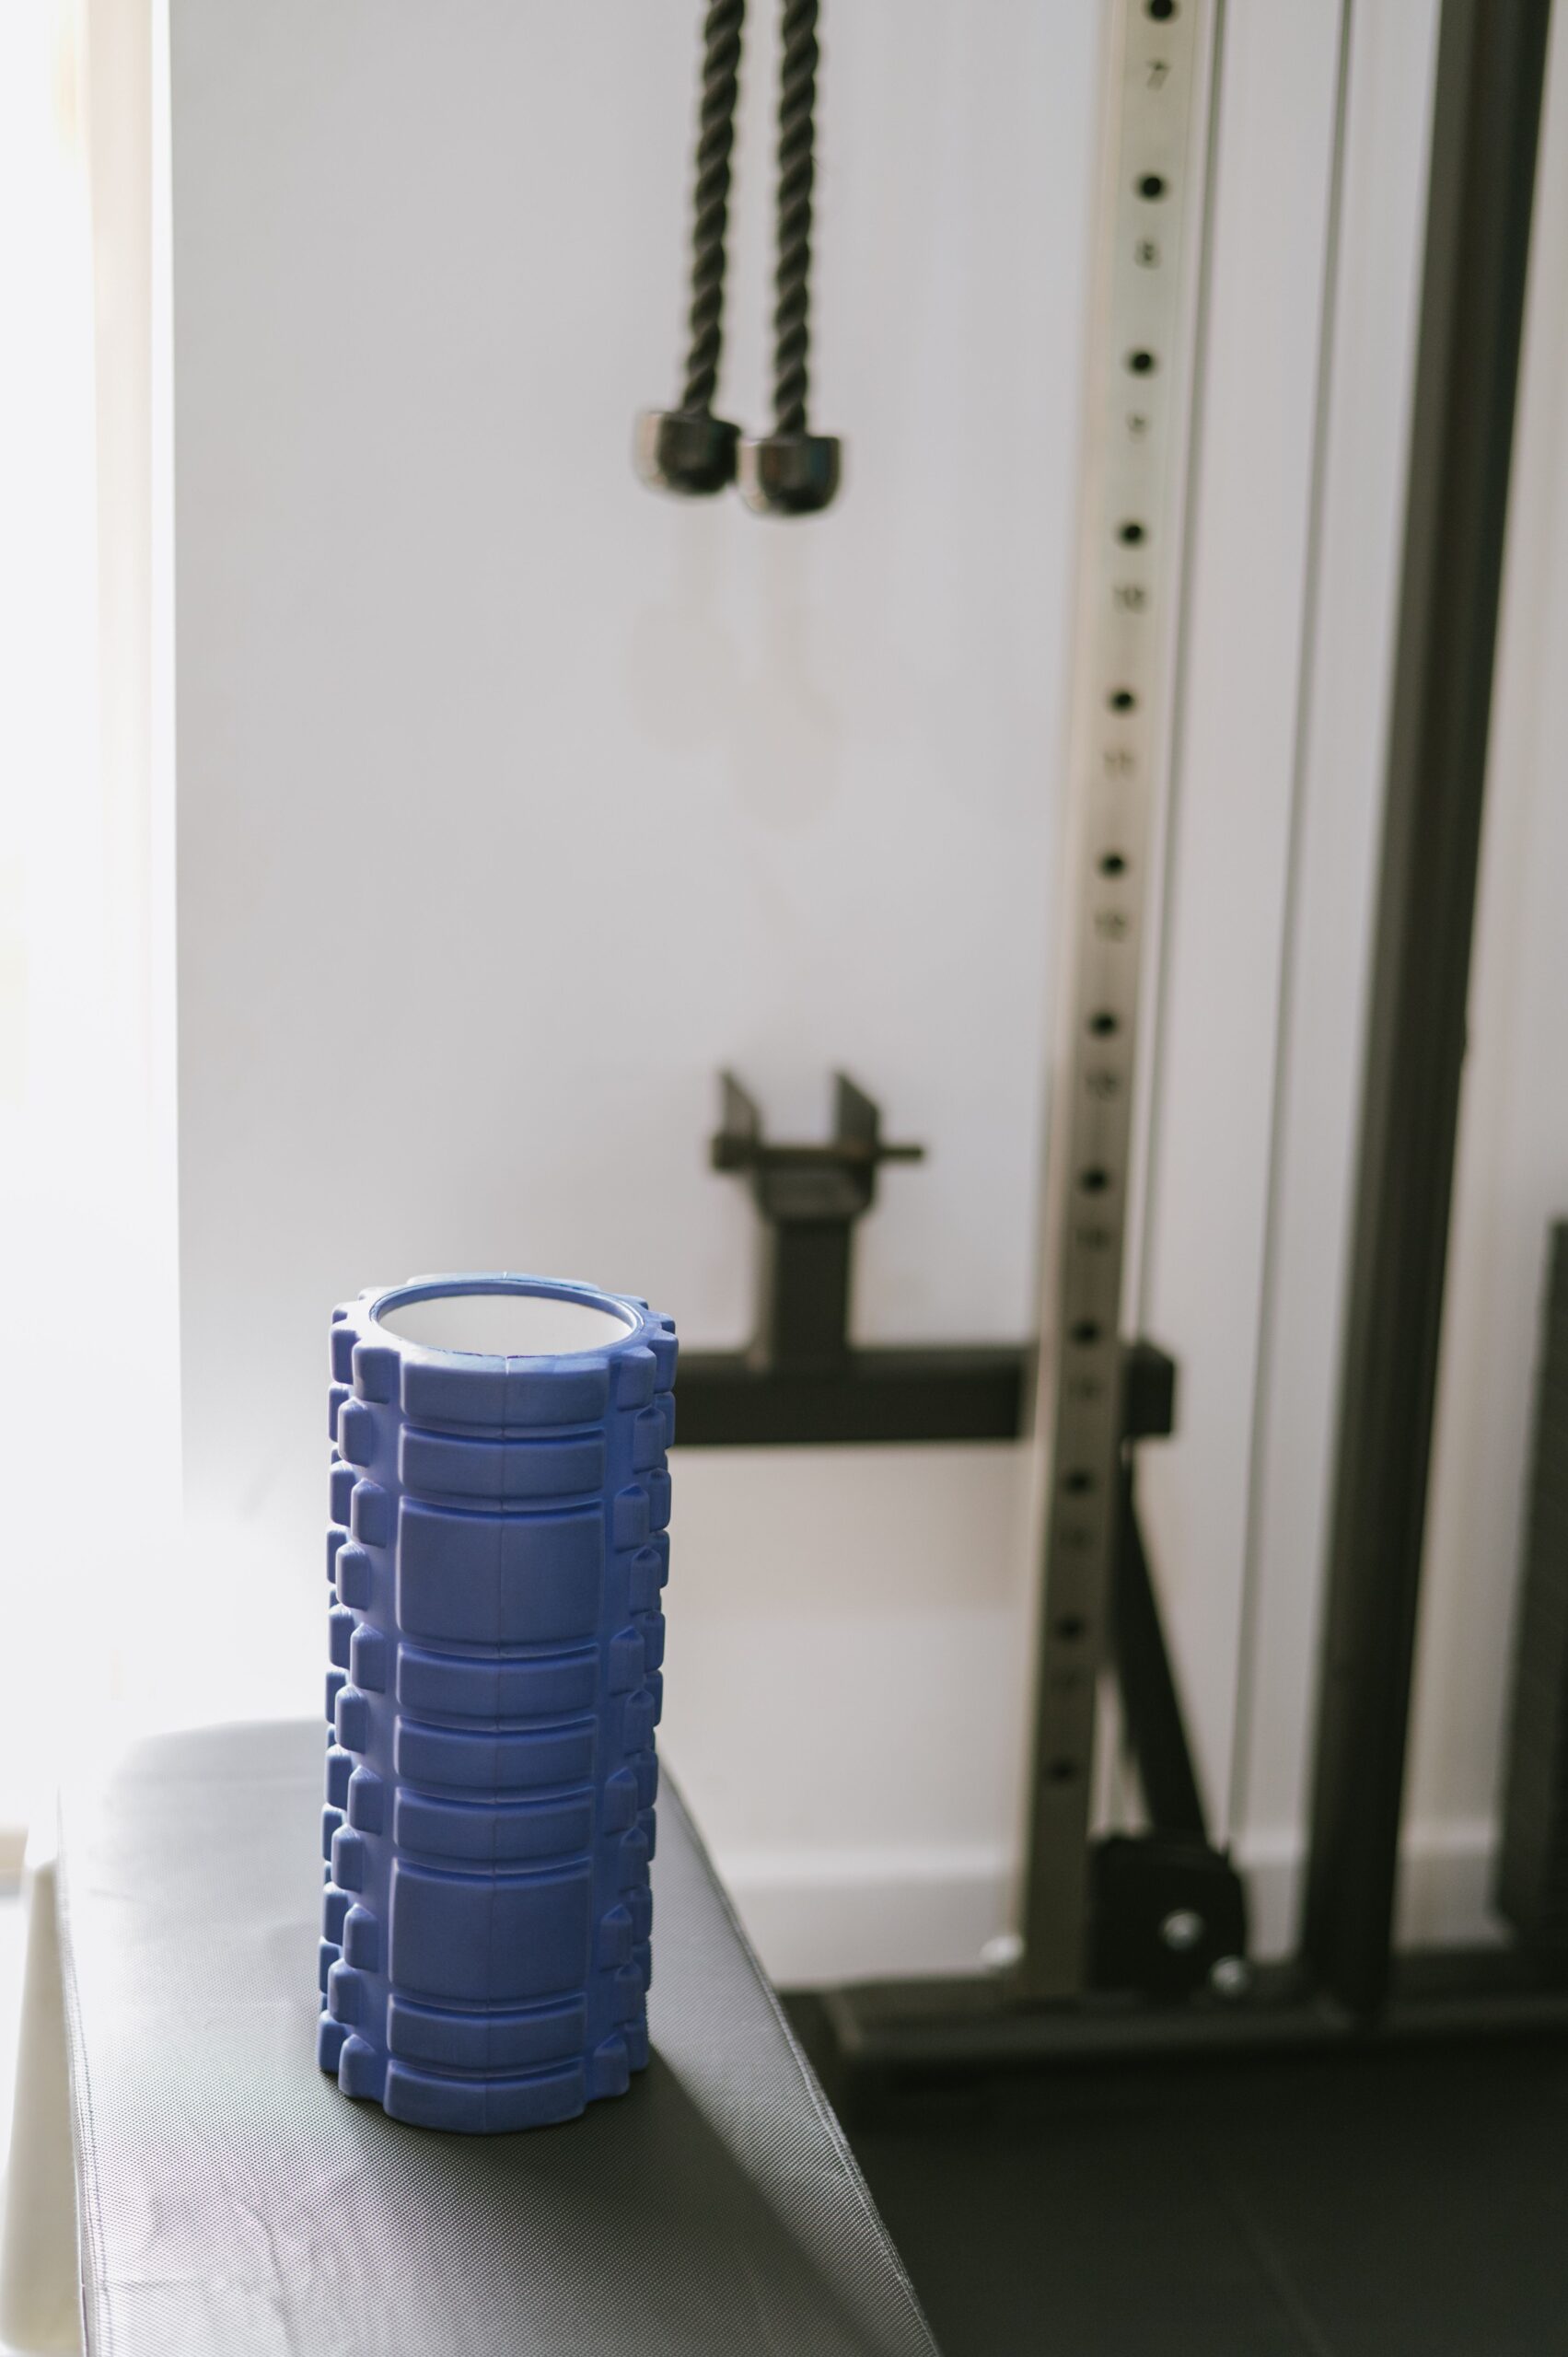
A firmer, multi-density roller that holds its shape better than basic solid-foam rollers over time.
See Full Review →As an Amazon Associate I earn from qualifying purchases. This is a researched recommendation, not a claim of personal testing, and none of this is medical advice.
Related reading: how to use a massage gun safely covers the powered alternative, and do acupressure mats work looks at what the one real trial on mats measured.